This post may contain affiliate links. That means if you click and buy, I may receive a small commission (at zero cost to you). Please see my full disclosure policy for details.


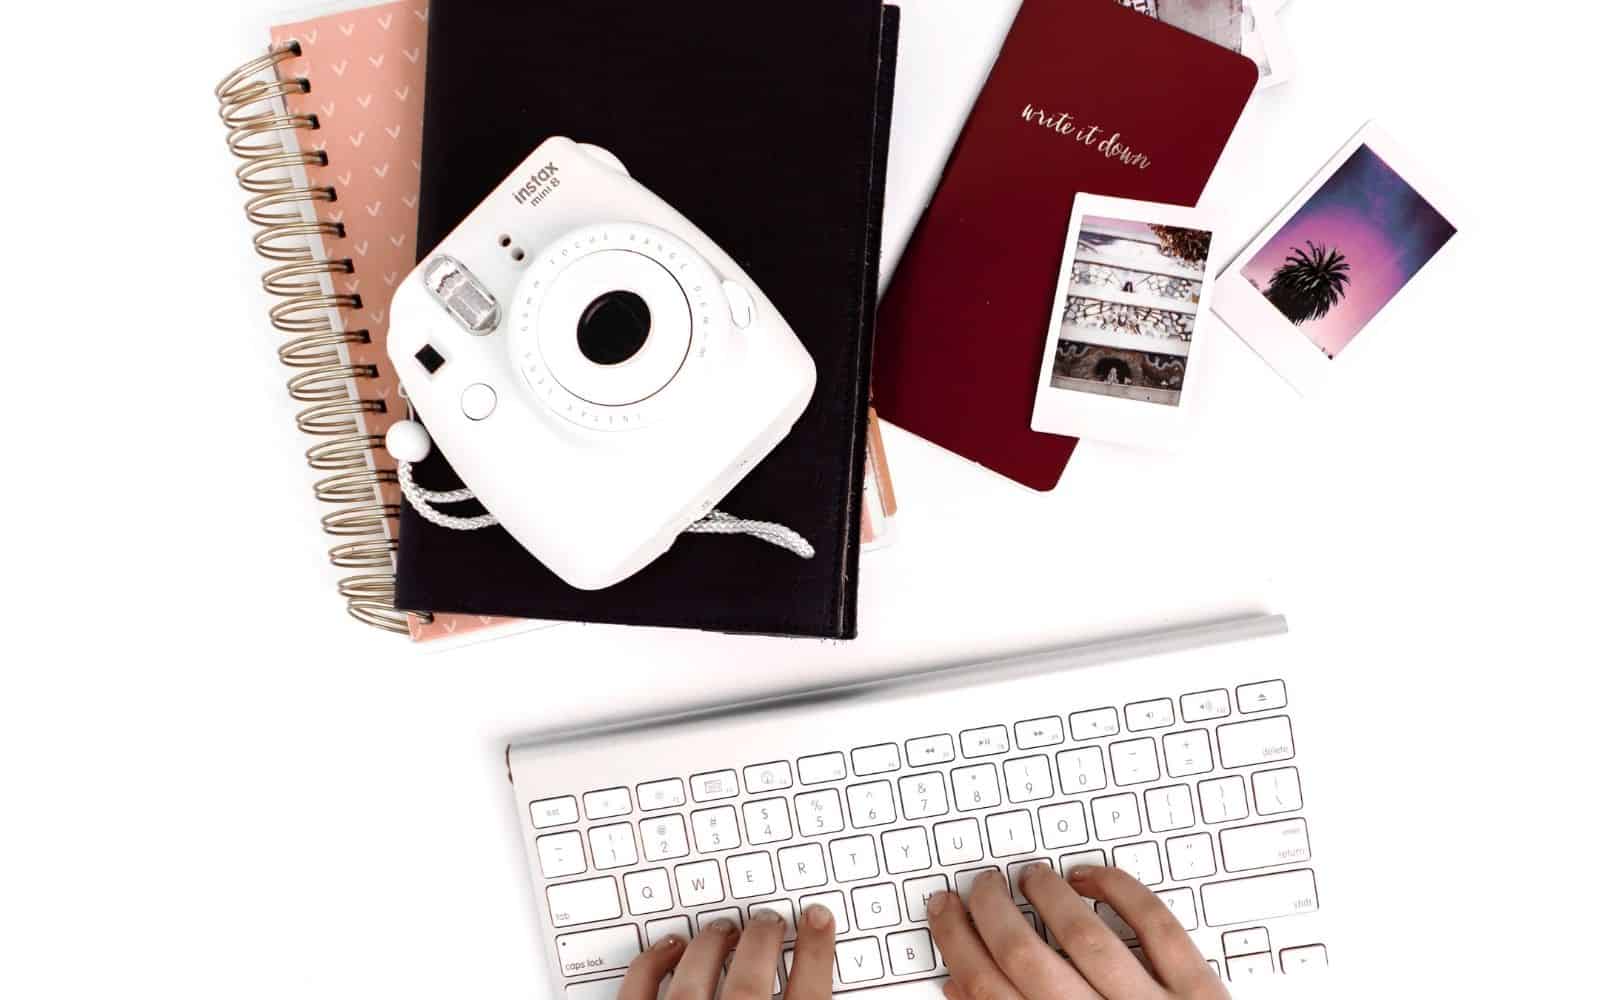
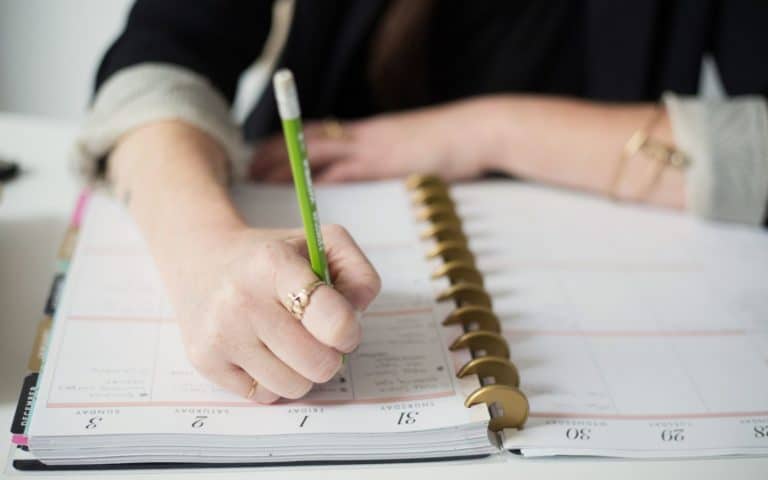
One part of any well-written blog post includes an image. And, you want to make sure you use the right blog images that tell the story.
But, you are probably not a photographer. You are a writer. That can make finding and adding images a struggle. Your pictures will tell the story and let your reader know that you have a fantastic article they need to read.
Images are essential for all blog posts. They set the tone and provide insight and emotion to help the reader better understand what it is you want to say.
While that sounds great, using blog images can pose a challenge. If you are a photographer, you can take your own shots. But, if you aren’t, where do you find images?
And then, what size image should you use on your posts do you need? What is the proper format? What is image compression, and should I use it on my site?
There are many things you need to know about using images legally on your blog.
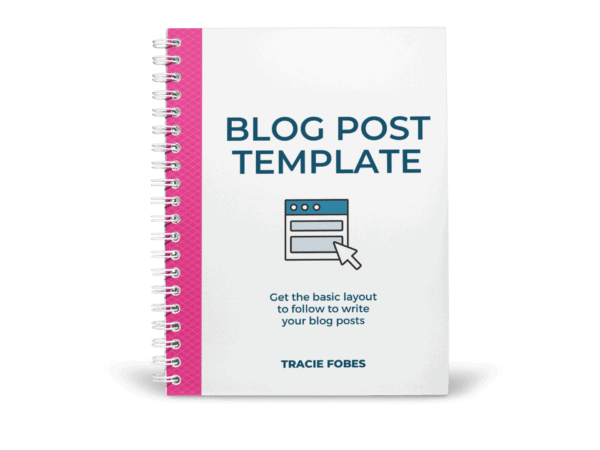
Simplify Writing By Using A Blog Post Template
Sign up now and I’ll send you my FREE Boiler Plate Blog Post Template & Formatting Guide so you can write the perfect blog post every single time – no matter your niche or topic!
Quick Navigation
Why should I use images in my blog post?
A blog image can instantly give the reader insight into your post. It can invoke emotion and feeling. But, your pictures can do even more than that. Images are an essential part of any well-written blog post.
Breaks up the content
When you add images to long articles, it breaks up the text. It makes it easier to read. If a reader sees a long block of text, they may click out and head to another site for information.
Adding an image makes reading long articles much, much easier. Just make sure they have the right vibe and feel for your post.
Use a screenshot
Bloggers tend to forget about the simple way to get images for their posts – their screen! If you are quoting a site or giving detailed instructions, a screenshot can work very well.
You can do this on Windows by clicking the SNIP tool. If you are a Mac user, create a screenshot by pressing SHIF+COMMAN+4 at the same time. Click the cursor and drag around the image you need to include on your site.
Images can help your SEO
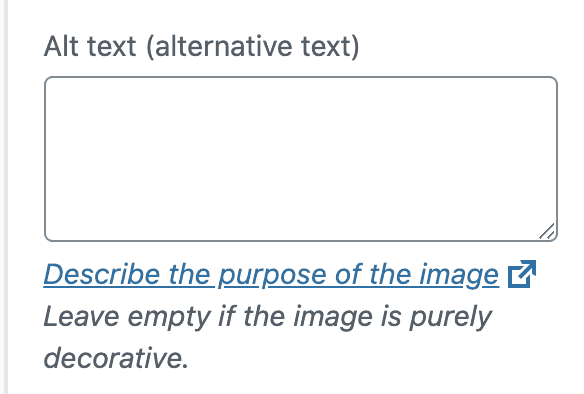
Yep! They can! You will want to complete the alt text section of your image. It should describe not only the image but also include the proper keywords.
I know, you were probably told to use the alt text for your Pinterest description. Sorry folks, that is not what it is for. The alt text is what visually impaired people will have read to them, and it also is the text that is seen if your image cannot load for any reason.
That means it should visually describe what the image is about and include a keyword, if possible. For example, you could say “white plate with knock you naked brownies” – where knock you naked brownies is your keyword.
Where can I find blog images I can use?
There are three sources for finding and using pictures on your blog post. Make sure you understand each – and the legal ramifications associated.
Public Domain
Anyone can use images in the public domain. They contain works where the copyright has expired or whose creator has relinquished rights to that image. It means you can use them for either personal or commercial use.
The only exception to the free for all use policy is that if the photo is of a recognizable person (i.e., celebrity), you may still need to get that person’s permission to use the picture. There may be a release assigned with the image. If in doubt, make sure you review the license agreement so you know for sure.
You can find public domain images on sites such as Pixabay, Unsplash, and others.
Royalty-Free
Don’t let the name confuse you. Royalty-free does not mean it is free.
You will purchase the image and can use it as you like. That means adding to a blog post, making a pin, etc. You can not edit the pin or sell it.
Visit stock photo sites such as IvoryMix, DepositPhotos, or HauteStock.
Rights Managed
You purchase a single-user license for access and use of the image. Therefore, you need to determine how the image will be used.
For example, if you plan to use it on your blog post, you will not be able to use it on Pinterest or create a video. That will require a secondary license.
Creative Commons
When photographers license their images under Creative Commons (CC), he or she can choose how you can use their pictures by specifying a particular CC license.
There are two different licenses. One is a CC0 license, which means the owner has relinquished all rights. The other license is CC 2.0, which requires attribution.
When looking for this type of image, the most flexible to use is the CCo. “CC0 enables scientists, educators, artists and other creators and owners of copyright or database-protected content to waive those interests in their works and thereby place them as completely as possible in the public domain, so that others may freely build upon, enhance and reuse the works for any purposes without restriction under copyright or database law.”
How do I optimize my images?
As great a images are, they are larger files, and that can make your site load more slowly. The way to avoid this from happening is to optimize them.
What is image compression?
Image compression is when certain parts of an image file are either removed or grouped to reduce the file size.
Why do I need to compress my images?
The main reason you want to compress your images is for website optimization. Images that are not compressed can take longer to load. That may result in bounced users. You don’t want that.
You will also be able to reduce the storage size in your database. The less memory your database uses, the faster your site loads — and the less it will cost. As you need more memory, you have to pay your hosting company a larger monthly fee.
How can you compress images for free?
Visit Tinypng.com to compress your images before uploading them to your site. The downside to this method is that any thumbnails your site generates after uploading will not be properly compressed.
Which image compression plugin is the best for a blog?
I’ve tested many compression plugins over the years. There is only one I’d recommend is ShortPixel. The reason is that it does the best at compressing images without reducing the quality of your pictures. If you are using anything else, you may want to drop it and sign up with ShortPixel.
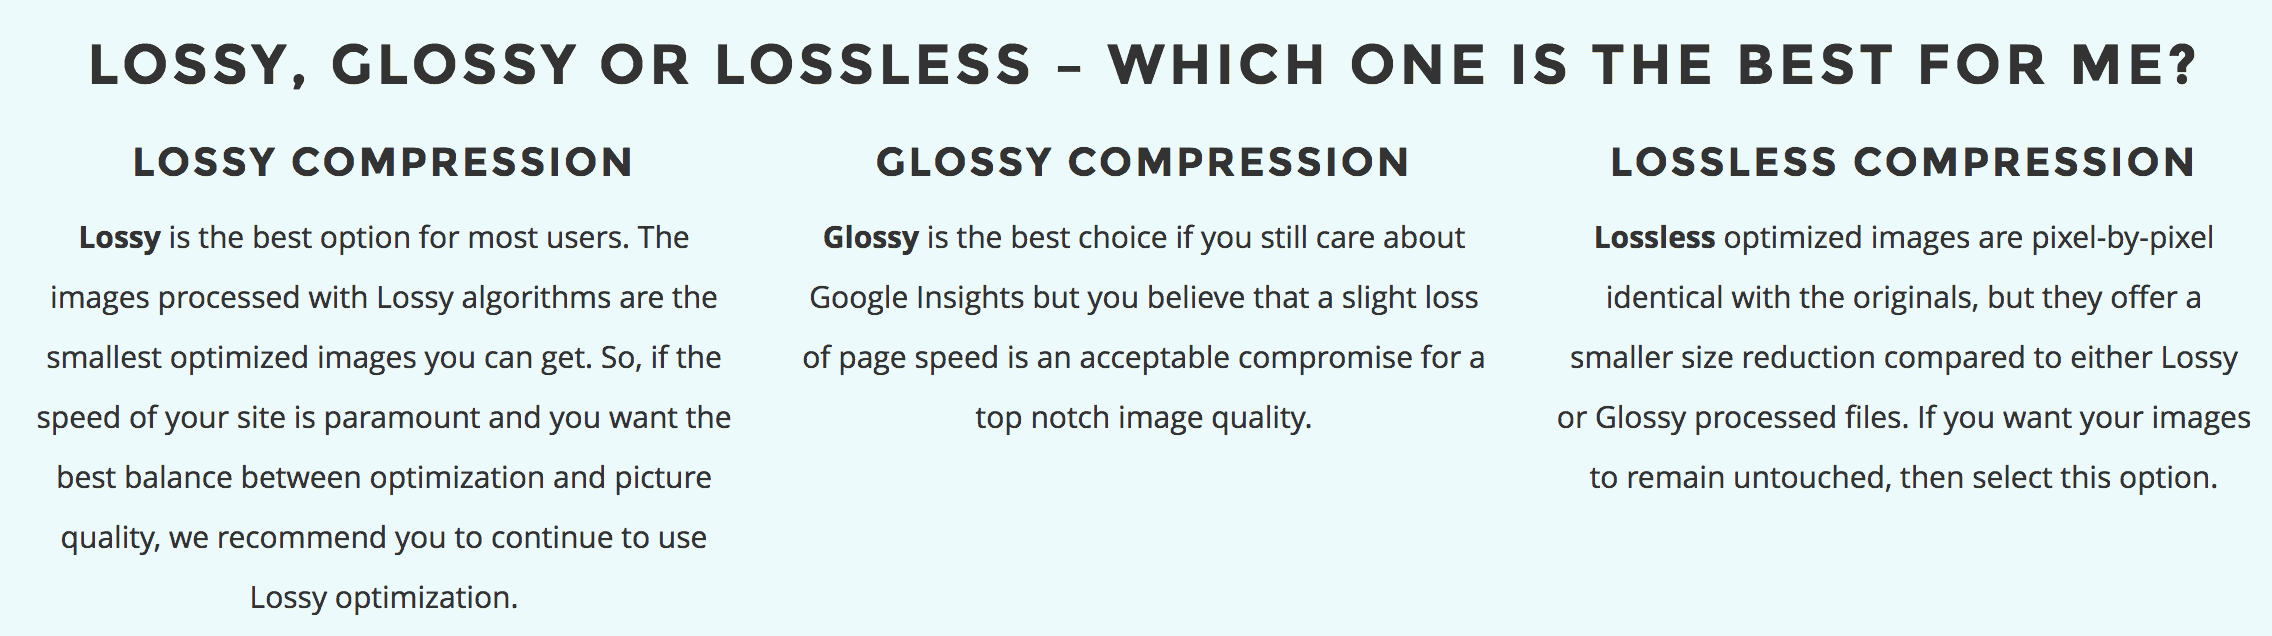
What type of compression do I need to use on my site?
Once you add ShortPixel, three different image compression types, you can use Glossy, Lossless, and Lossy. Trying to figure out the best one to use for your site can be a tad overwhelming.
ShortPixel does an excellent job explaining this, as you can see here:
How Should I save my Blog Images?
A common question bloggers have is the format that images should be saved. The most common are PNG and JPG. If you use any online sites, such as Canva, they offer PNG as a format. Believe it or not, there is a better way to save your images.
What is the difference between JPG and PNG?
The difference between the two formats is the compression that is used. A JPG image uses lossy compression that gets rid of some of the image information to reduce the image file size. It can result in reduced image quality.
A PNG format uses a lossless format that retains all of the information. That means that the file size is usually larger, but the quality will not change.
Note that if you happen to have a transparent background, the only way to retain that setting is to use a PNG format.
What is the best image format for a blog?
Since you are trying to reduce the page load time, the best format to use is jpg. If you currently use png, you may want to swap out some of those images so that the file is not as large, and you could see improvements in page speed.
What Size Should My Blog Images Be?
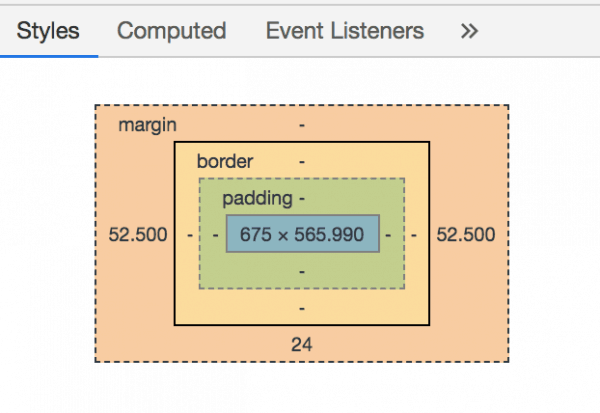
The size image you need to use on your site is based on your theme. While one person may upload something as wide as 700 px, another may be limited to 525 px. You can find this by digging into your theme settings. You can also quickly do this by using Chrome and opening an article on your site.
Hover on your image (or where the image belongs) and select the right-click button on your mouse. Then, click on Inspect. A small box opens at the bottom of the screen.
Look for the word STYLE and then scroll down to the bottom of the box, and you will see an image like this. The inside size shows you your max image width. You can see that the maximum width I can make an image is 657 px on this site.
It is vital to note that you should ALWAYS size the image to the size you want on your site and not force a resize on WordPress. Why?
Because every time that single image loads, WordPress has to change the dimensions. That can make your page load much more slowly.
That is not only a negative user experience, but Google is watching as well! If your site does not load quickly, Google will not rank it.
How do I add an image to my WordPress site?
It is very easy to add an image to your blog. The first step will be to find the image and ensure it is the size you need for your post (we don’t want to force WordPress to change the size).
Adding Images to Your Site
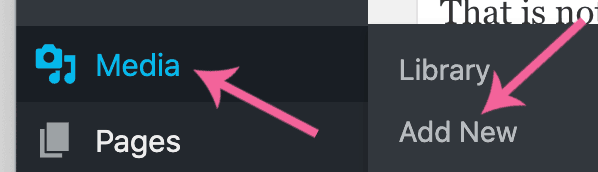
From the main menu, select Media > Add New.
Select Find File and then add the image that is on your computer. It is now in the database on your site.
Adding an Image to a Blog Post
Adding images to your site is one thing, but adding them to your post is another. Let’s walk through how to do this.
Gutenberg Users
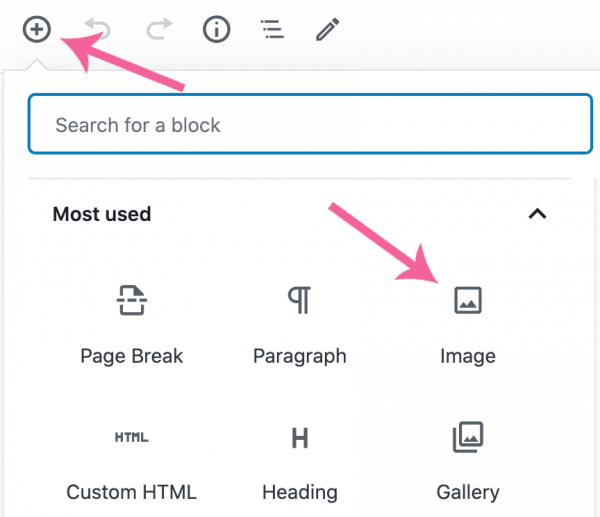
If you use Gutenberg (the blocks) as your editor, you can add any image to your post with a few clicks. Navigate to your post and click on the “+” at the top of the screen, and select Images.
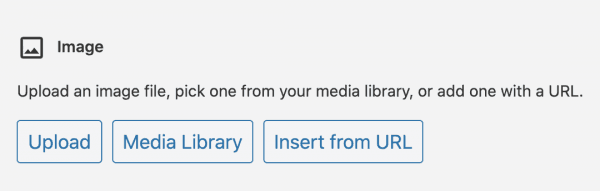
Next, determine where the image currently is that you need to add to your post.
Is it already uploaded? Then click Library. Did you not yet add it to your site? Then click Upload.
(Do not use URL as you should not use an external link to any image in your post — always upload them).
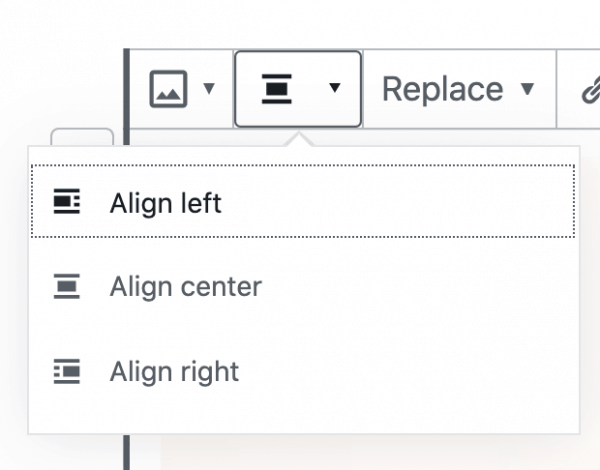
Now, the image is in your post. The last step will be to align and add the alt text description.
Click the alignment icon above the image and place it where you need to in the post.
In the side blocks menu, look for Alt Text and add the image’s description (don’t forget the keywords where they make sense).
Classic Editor Users
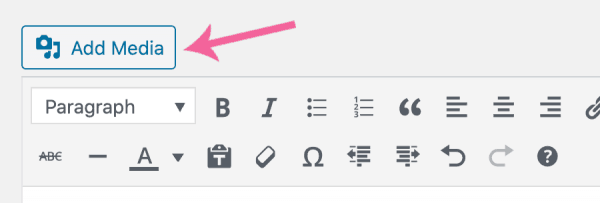
You may have opted to use the classic editor instead. To add your image, start by looking for Add Media above the tools box (also called the Kitchen Sink).
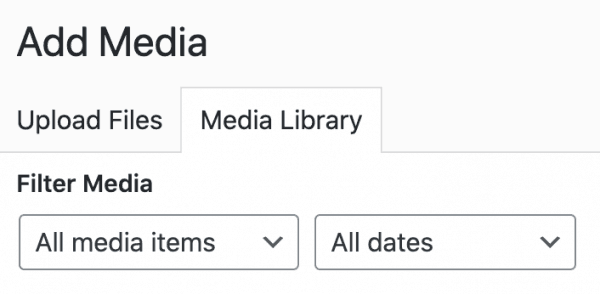
Select the image you want from your library or upload it from your computer.
Select the image alignment, update the alt text, and then select Save, and the image will be in your blog post.
What are the legal issues with using images?
IMPORTANT: Even if you use an image, you believe to be free, you could still be liable for using it illegally.
There have been instances where a photographer’s image was shared without permission. If they find that out and you used it as well, then you could be on the hook. If you plan to use a free image, make sure you are allowed to do so, and provide the proper attribution when necessary.
Can I use images from Google on my blog?
Images found through a search on Pinterest, Google, or other search engines do not mean you can use them. It is one way to land yourself in hot water.
Never use another site’s image without permission. Ever. If they have posted it themselves, they own the rights or used proper attribution to use it.
When it comes to searching for images, don’t use those you may find via search.
Is there I way I can use another blogger’s images legally?
Of course! If you are doing a post where you want to showcase articles from another blogger, for example, you can email them to ask if you can use their image on your site. They must provide written consent for you to do so.
Keep in mind that just because you can use it on your site does not mean you can use it on Pinterest or promote your article. If you need to do that, make sure you get those permissions as well.
WHERE CAN I FIND FREE BLOG IMAGES?
I don’t recommend ever using free graphics or pictures on your site. There is too much liability.
Why you should not use free images
First of all, it is possible that the picture was stolen and uploaded without permission. Should that happen and you use the image, then you are liable. Yes. You can be sued and forced to remove the image everywhere you shared it.
The second reason is that you need original images on your pins for Pinterest. Free images are used by many, but the content may be different. It could be a desktop image used by a blogger, a parenting planner, or making money at home. Those articles do not relate to one another. That makes it more difficult for Pinterest to know the related posts and connect yours to the right reader.
SITES THAT OFFER PICTURES TO USE
If you are still set on using free images, you can find them here. Be sure to provide proper attribution to the photos. Due to the nature of images on Pinterest, it is not recommended you use these when creating your pins.
1. Pixabay. Pixaby is one of the largest sites of public domain images. Attribution is not required for these images.
2. Magdeline. Each day you will find a free image you can use. They also have an extensive database of images you can use as well. Attribution is not needed.
3. Picjumbo. The site with high-resolution photos. Attribution is not necessary with the image on this site.
4. New Old Stock. Access vintage photos originally shared in the public archives. No attribution is required.
5. Foodie’s Feed. A foodie’s dream! Nothing but high-resolution food images. Attribution is not required.
6. Picography. The site is not easily searchable, but it has beautiful photos. Attribution is not required.
7. Unsplash. Find ten new, high-quality photos every ten days. Attribution is not necessary.
8. Death to the Stock Photo. Free images – delivered monthly to your inbox. (Important to note that you can not add your watermark or logo to these images). No need to include attribution.
9. Free Range Stock. It is recommended attribution on all images, but it is not required.
10. Pickup Image. A database filled with public domain images. Attribution is not required.
11. Good Free Photos. These are public domain images. No attribution is necessary.
12. Getafe. Images were taken throughout Europe. Attribution is not required.
13. Gratisography. All photos on this site are available under the CCO license. Attribution is not necessary.
14. Photogen. Free images for commercial or personal use. Attribution is not required.
15. Skitterphoto. Images available for use under the CCO license. Attribution is not needed.
16. Life of Pix. Awesome public domain images. No attribution is required.
17. Flickr: Creative Commons. Ensure you only search files under Public Domain, so you know you are free to use them without licensing or attribution.
18. Pexels. Database of CC0 images. No attribution is needed.
19. FreeImages. Another great resource filled with free images. Attribution is not required.
20. IM Creator. A smaller site filled with amazing, high-quality images. Attribution is required on all images used on this site.
21. StockSnap. Images available under the CCO license. No attribution is required.
22. Morgue File. These images can be used for either personal or commercial use (but you can’t claim ownership, so no watermarking). Attribution is not needed.
23. Gratisography. Incredible images that require no attribution at all.
24. LittleVisuals. Join the email list and get a weekly file with seven high-resolution images. Attribution is not needed.
25. 1 Million Free Pictures. These are all amateur images. They may not be the best quality, but they are free for use. Attribution is not required.
26. pdpics. All public domain images. Attribution is not needed.
27. Negative Space. Photos are released under the CCO license. You can search for these images. Attribution is not required.
28. Tookapic Stock. Filter by free photos under the CCO License….which means attribution is not necessary.
29. MMT STock. These are photos provided by Jeffrey Betts. All images released fall under the CCO license, and attribution is not required.
30. Kaboom Pics. A large variety of high-quality images. Attribution is not necessary.
31. PicXclicX. Must provide attribution on all images. However, you can pay for them instead and use them without attribution. (Update: You will pay $5 for access, but that is a one-time fee).
like this pop-up to appear on the page.
Simplify Writing By Using A Blog Post Template
Sign up now and I’ll send you my FREE Boiler Plate Blog Post Template & Formatting Guide so you can write the perfect blog post every single time – no matter your niche or topic!


Actually, with my site picXclicX…you only have to pay a one-time, lifetime license of $5 to use my images without attribution!
Thank you so much for including me on this list!
You have some wonderful photos on your site! And some unique categories of pics that might be hard to find elsewhere. A lovely site too. I’ll definitely be back and gladly pay $5 to use some of your pics.
Too good ma’am. You are a fabulous lady who always think for the betterment of the bloggers community.
Thank you for your very kind words!!
Such a helpful article, thank you so much 🙂